SnapRoamer.com – Editing travel photos on your smartphone can dramatically enhance their visual appeal, capturing the essence of your journeys with vibrant colors, sharp details, and professional finishes. By leveraging advanced smartphone camera features and powerful mobile editing apps like Snapseed and Adobe Lightroom Mobile, users can transform ordinary snapshots into compelling travel stories. This tutorial guides you through a detailed, practical workflow, from optimizing camera settings before shooting to exporting high-quality images tailored for social media sharing.
Starting with fundamental pre-capture techniques ensures your photos have strong compositional foundations. Implementing grid lines and the rule of thirds during shooting, stabilizing your device, and manually adjusting exposure on your iPhone or Android improve image quality before editing. This approach reduces extensive post-processing needs while maximizing detail retention.
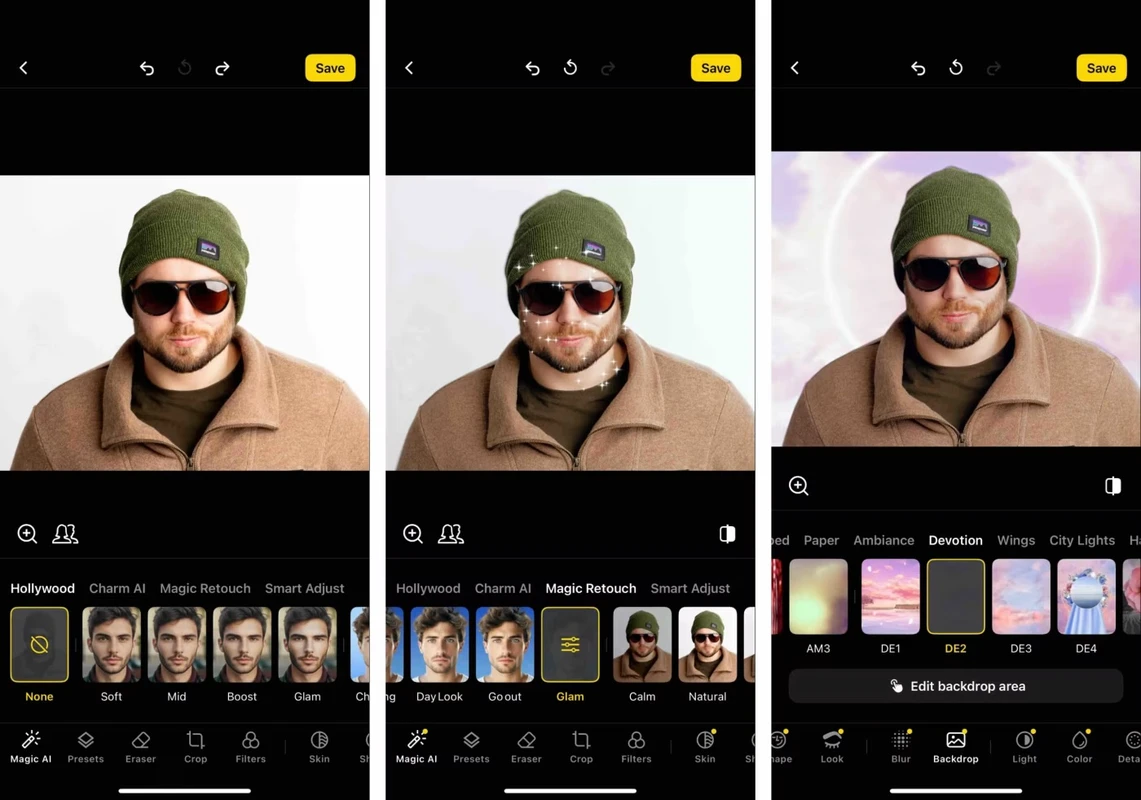
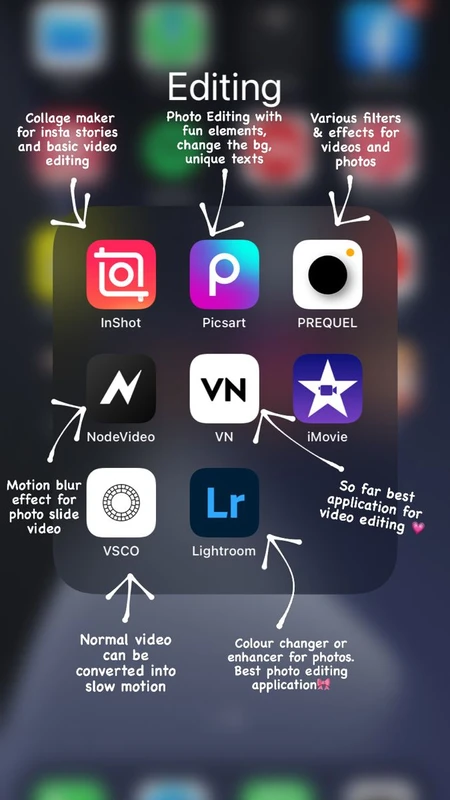
Following capture, selecting the right editing app is crucial. Snapseed’s brush and selective tools allow precise localized adjustments, while Lightroom Mobile offers powerful presets and comprehensive color correction options. VSCO and Darkroom also provide user-friendly interfaces with unique filters, and CapCut supports video editing and captioning for travel vlogs. Each app complements different aspects of mobile photography and video enhancement, enabling tailored edits depending on your creative goals.
Essential Pre-Editing Tips for Smartphone Travel Photos
Before diving into editing, prepare your smartphone and shooting environment to maximize photo quality. The following steps focus on optimizing the initial capture, which is foundational for effective editing:
Dust and fingerprints can reduce sharpness and introduce unwanted glare or haze. Use a microfiber cloth to gently wipe the lens before shooting.
Activate grid lines in your camera app settings to divide your frame into nine equal parts. Position subjects along these lines or intersections to create balanced, visually appealing compositions.
Hold your smartphone steadily or use a compact tripod to minimize motion blur, especially in low-light environments common in travel scenes.
On most iPhone and Android devices, tap the subject on the screen to focus and slide to adjust exposure. This prevents overexposed highlights or underexposed shadows, providing a more balanced base image.
Use portrait mode or live focus to create background blur effects, enhancing subject isolation. Enable HDR (High Dynamic Range) mode to capture finer detail in challenging lighting.
Choosing the Best Mobile Editing Apps for Travel Photography
Selecting the right app is critical for efficient, high-quality edits. Below are the top mobile apps with core features relevant to travel photo enhancement:
Developed by Google, Snapseed offers a comprehensive editing suite including brush and selective tools for local adjustments, white balance correction, and perspective fixes. Its intuitive interface supports both beginners and experienced users.
This app excels with advanced presets, RAW editing capabilities, and detailed color correction. It integrates with Adobe Creative Cloud for seamless workflow across devices, ideal for users familiar with desktop Lightroom.
Known for its film-inspired presets and straightforward controls, VSCO facilitates quick aesthetic edits with additional social sharing features.
Offers powerful batch editing, curve adjustments, and selective color tools. Its clean UI appeals to users seeking in-depth control without complexity.
Primarily a video editor, CapCut also supports photo captioning and simple photo enhancements, useful for travel vloggers wanting integrated multimedia editing.
Each app supports editing essential parameters like brightness, contrast, saturation, and white balance, enabling tailored adjustments to match travel scenes’ diverse lighting and color profiles.
Step-by-Step Mobile Editing Workflow for Travel Photos
This section provides a structured, sequential guide to enhance your travel photos using Snapseed or Lightroom Mobile, covering fundamental editing operations:
Open your photo and use the straightening tool to correct horizon lines or tilted compositions. Crop to remove distractions or improve framing, adhering to the rule of thirds.
Increase brightness to reveal shadow details in underexposed areas and adjust contrast for depth and clarity. Be careful to avoid clipping highlights or shadows.
Enhance saturation to intensify colors without oversaturation. Use vibrance controls (available in Lightroom) to boost muted tones selectively, preserving natural skin tones and landscapes.
Utilize Snapseed’s selective tool or Lightroom’s brush tool to brighten or sharpen specific areas, such as faces or landmarks, drawing viewer attention to key subjects.
Correct color casts by adjusting white balance sliders. Warm up or cool down an image to replicate natural lighting conditions accurately.
For photos not captured in portrait mode, simulate background blur using selective focus features or vignette effects to emphasize your subject.
Apply sharpening carefully to enhance detail while using noise reduction tools to smooth grainy textures, especially in low-light travel shots.
Use Lightroom presets or VSCO filters to maintain a cohesive aesthetic across your travel photo collection.
Exporting and Sharing Travel Photos Optimally
Proper export settings ensure your edited photos retain quality when shared on social media platforms like Instagram:
Save images at 1080×1920 pixels for vertical photos to optimize Instagram’s display and minimize compression artifacts.
Export in JPEG format with maximum quality settings for broad compatibility. Use PNG for images requiring lossless quality, especially graphics.
When adding text or captions (via CapCut or other apps), keep content within safe margins to avoid cropping on various devices.
Upload your final edits to cloud storage solutions such as Adobe Creative Cloud or Google Photos to prevent data loss.
Advanced Editing Techniques and Accessories to Enhance Travel Photography
For users seeking professional-grade enhancements and creative control, consider these advanced tips:
Use apps like Adobe Lightroom Mobile to capture RAW images, preserving maximum image data for flexible post-processing.
Attach clip-on lenses (macro, wide-angle, telephoto) to your smartphone to expand creative possibilities and improve optical quality.
When preserving travel memories in motion, filming horizontally maximizes screen utilization on most devices and platforms.
Activate HDR settings for scenes with high contrast, such as sunsets or cityscapes, to enhance dynamic range.
Explore leading lines, symmetry, and framing techniques to add depth and interest to your images before editing.
Troubleshooting Common Mobile Editing Issues
Encountering problems during editing is common among mobile photographers. Here are solutions to frequent challenges:
Reduce exposure incrementally and use selective tools to brighten only dark areas instead of the entire photo.
Lower saturation or apply vibrance adjustments for more subtle color enhancement.
Check export settings to ensure resolution and quality are maximized; avoid excessive compression.
Use portrait mode when shooting if possible; otherwise, apply gentle blur effects and avoid overuse.
Update your app to the latest version, clear cache, or restart your device to improve performance.
Common Mistakes to Avoid in Smartphone Travel Photo Editing
Awareness of typical pitfalls can speed up your learning curve:
Alternative Methods and Tools for Travel Photo Enhancement

Beyond the primary apps discussed, explore these options to diversify your workflow:
Experimenting with different tools can provide new creative avenues and streamline your editing process.
Frequently Asked Questions

Which app is best for beginners to edit travel photos on smartphones?
Snapseed is highly recommended for beginners due to its intuitive layout and powerful editing tools like selective adjustments and brush edits that enable precise enhancements without overwhelming complexity.
How can I achieve professional-looking background blur on smartphone photos?
Use your smartphone’s portrait or live focus mode during capture to create natural background blur. If unavailable, apps like Snapseed offer selective blur tools, but results may appear less authentic.
What is the ideal resolution for exporting travel photos to Instagram?
Export images at 1080×1920 pixels for vertical posts to align with Instagram’s display standards, ensuring minimal compression and high visual quality.
Can I edit RAW photos on my smartphone?
Yes, Adobe Lightroom Mobile supports RAW editing, allowing more detailed adjustments like exposure correction and noise reduction while preserving image data.
How do I prevent over-editing when enhancing travel photos?
Apply incremental changes, frequently compare edits with the original photo, and use selective tools to target specific areas instead of global adjustments.
—
This tutorial integrates expert recommendations and practical steps to elevate your smartphone travel photography. By mastering camera settings, applying precise edits with sophisticated apps like Snapseed and Lightroom Mobile, and adhering to optimal export practices, you can showcase your travel experiences with professional polish. For further insights, explore detailed guides on smartphone photography composition and the best apps for editing travel photos.